
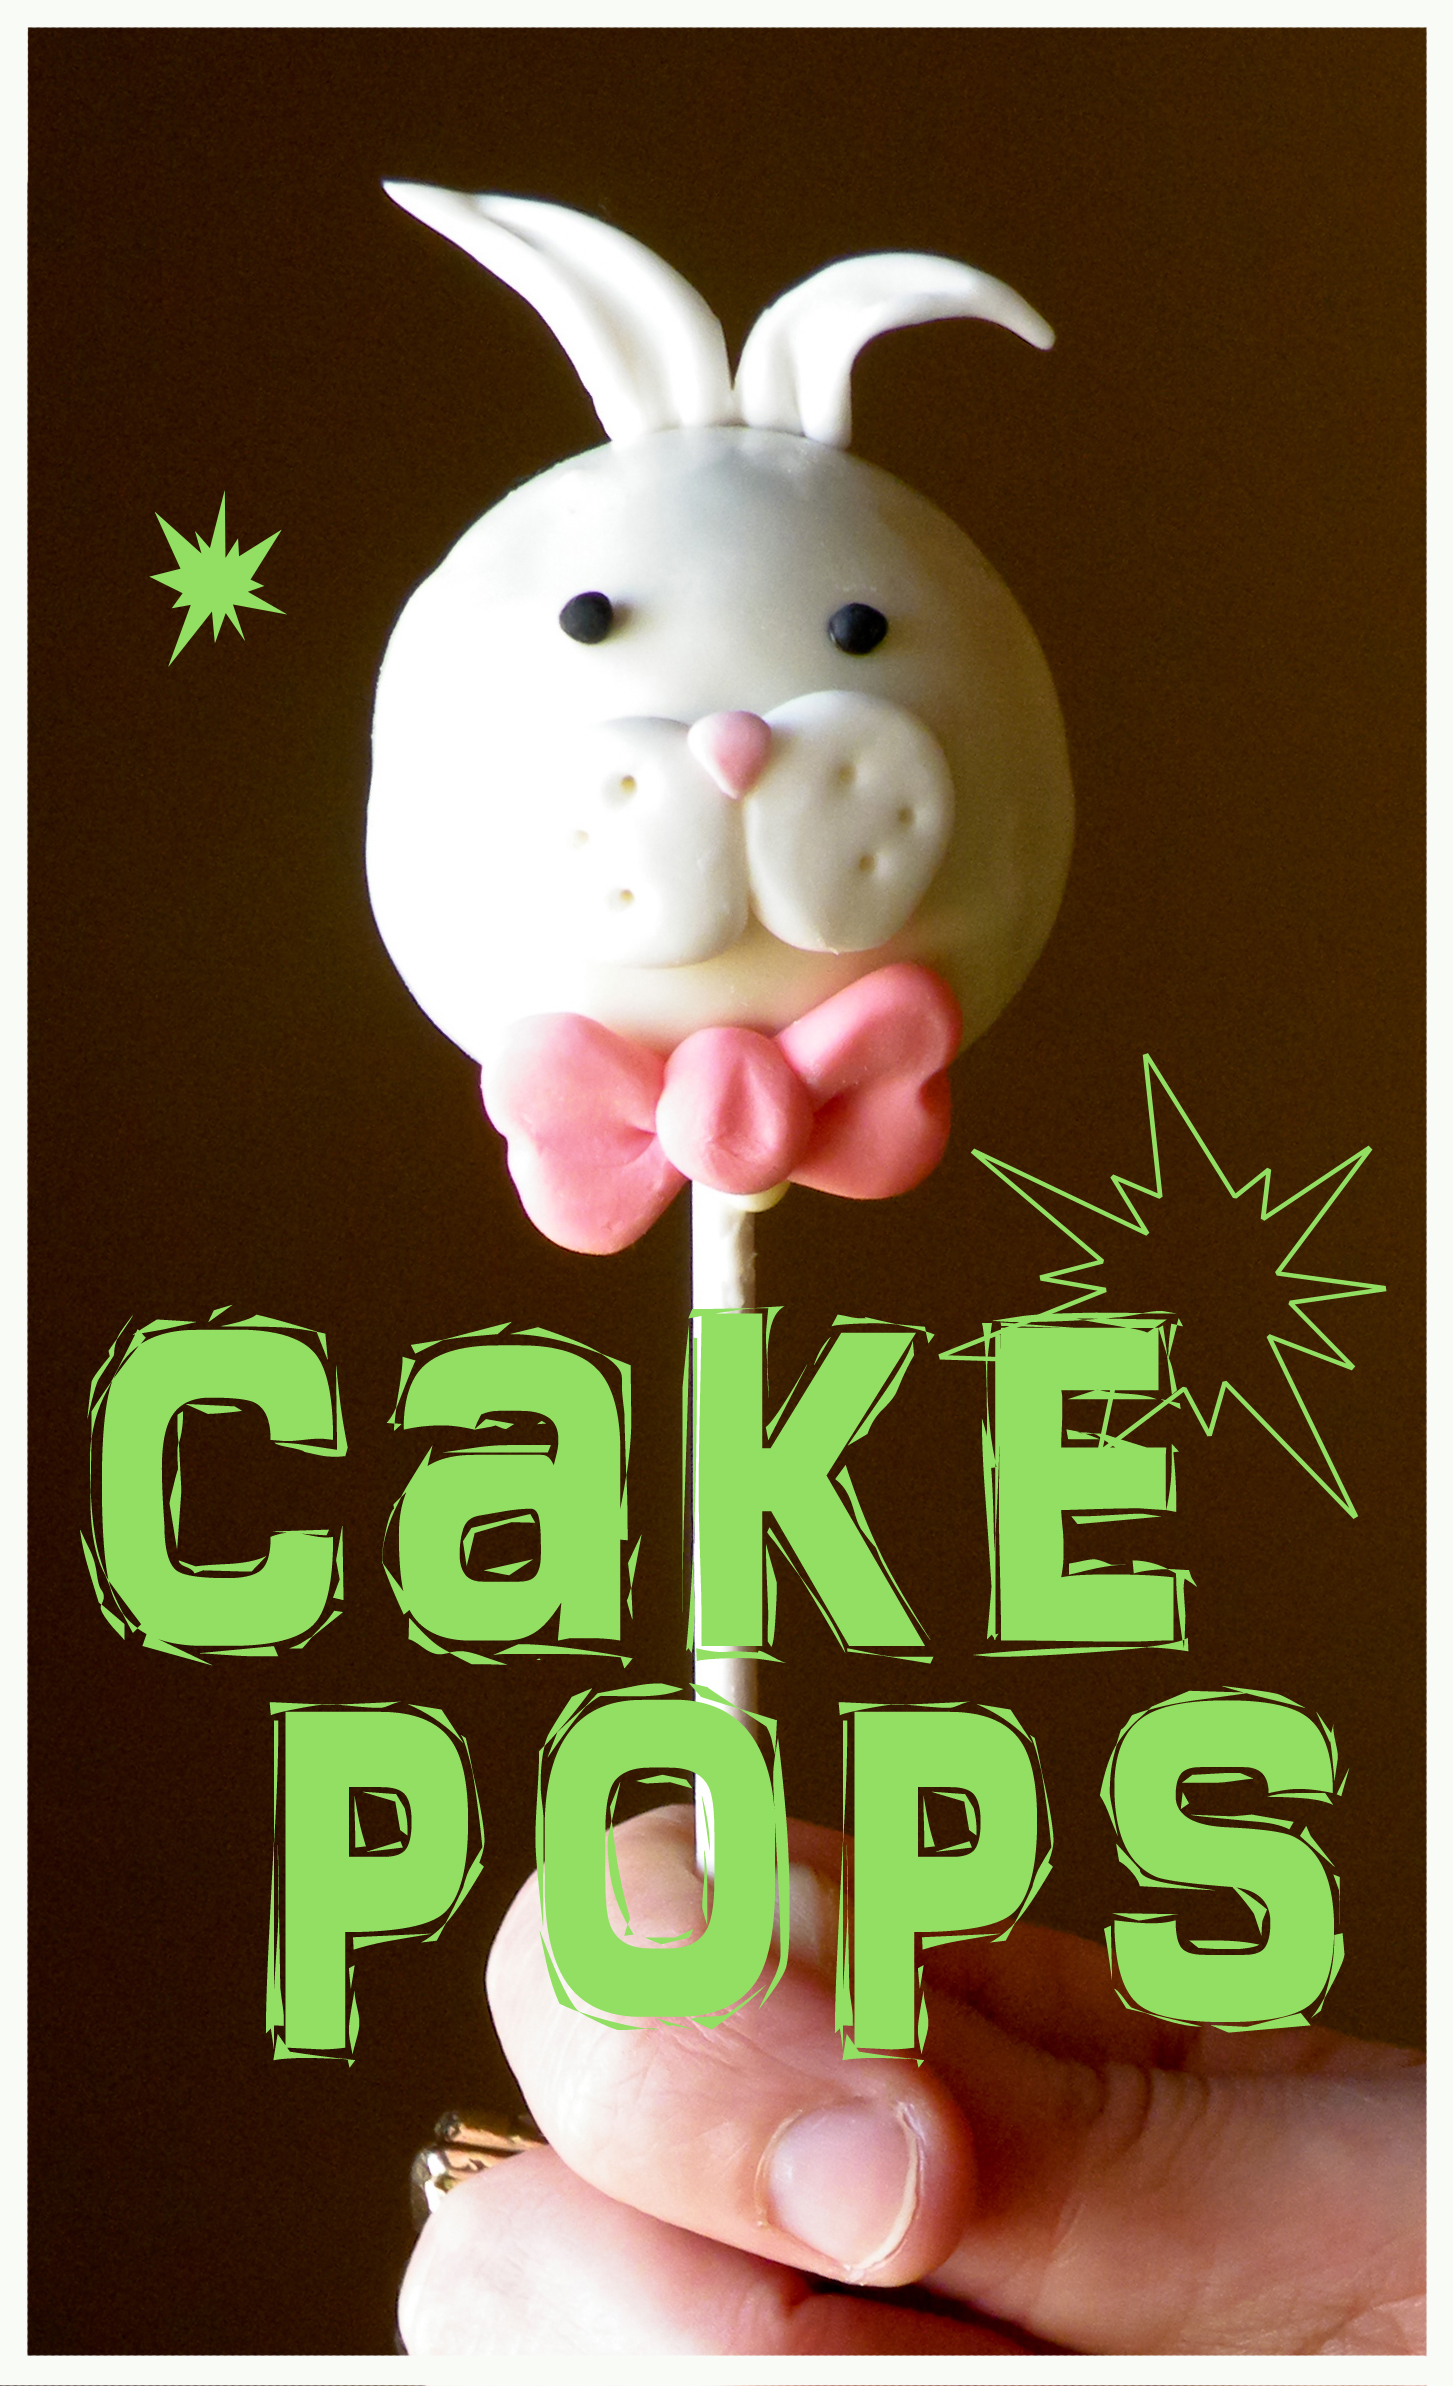
Here it is, our last easter project: Chick & bunny cake pops!
I was thrilled to use my cake pop machine for the very first time! I used a regular vanilla cake recipe (with butter, not oil) and simply substracted a little bit of milk to make sure the batter was quite thick. See the results… Beauuutiful! The best part was how amazingly round and perfect those little balls of cake were! They were already cute as is… BUT, they would eventually be even cuter with pretty bunny ears and bow ties! ^^

We used candy melts to secure the lollipop sticks in the cakes. Candy melts are easy-to-melt wafers, ideal for dipping cake pops. They come in a variety of colors and taste like very sweet white chocolate! Make sure not to overheat yours like I did, because it will be unusable. Your chicks will end up looking like zombie heads. And I’m not joking- that thing was creepy.
Lucky me I had some more wafers at hand! Ha!
Using an empty egg carton to hold them straight proved to be a very efficient method! Off to the freezer for 5 min. and they were ready to take a dip!

And because making bunny and chick cake pops wasn’t nearly enough, we decided to make a CRAZY CUTE garden display as well!
With a block of oasis foam, hot glue, coffee sticks, green paper, easter eggs from the dollar store and a little bit of patience, it’s amazing what you can do!

While Catherine worked on the garden, I worked on the bunny ears. All there was left to do was assemble it all… and take a bite! Or two!
Isn’t this a good-looking chick or what? Awww!


Happy Easter everyone!


